Why is my Keyboard not working in Windows 10?
There are multiple things that can cause the keyboards to stop working in Windows 10. Here are some of the common causes:
Why is my Keyboard not working in Windows 10? Fix Windows 10 Keyboard Not Working Method 1: Turn off Filter Keys Method 2: Run the Hardware and Devices troubleshooter Method 3: Disable usb2 legacy support Method 4: Uninstall Synaptic Software Method 5: Uninstall Keyboard drivers Method 6: Update Keyboard Drivers Method 7: Disable Fast startup Method 8: Make sure Windows is up to date Method 9: Workaround the problem Method 10: Update BIOS Method 11: For USB/Bluetooth Mouse or Keyboard Method 12: Fix for ASUS Laptops
Damaged Keyboard Low Battery Missing or Outdated Drivers Incorrect Power Settings Filter Key Issue A Bug in Windows Update
The cause really depends on user system configuration and environment, what may work for one user might not work for another, therefore, we have put together an intensive guide in order to resolve this issue. When your keyboard stops working, you can’t do any work and you’re only left with the option to purchase an external keyboard. But don’t worry we are here to help you fix your Keyboard not working on Windows 10 issue. Pro Tip: Try to fix this problem simply by pressing Windows Key + Space on your keyboard.
Fix Windows 10 Keyboard Not Working
Make sure to create a restore point just in case something goes wrong. The following methods will only work if you can use your Touchpad or USB Mouse in order to navigate around your system and use the on-screen keyboard to type. Here is how you can enable or disable the on-screen keyboard in Windows 10.
Method 1: Turn off Filter Keys
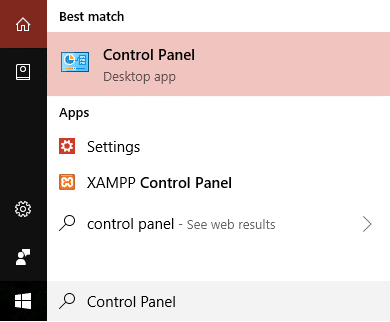
Type control in the Windows Search then click on Control Panel.
Inside Control Panel click on Ease of Access.
Now you need to again click on Ease of Access.
On the next screen scroll down and select Make the keyboard easier to use option.
Make sure to uncheck Turn on Filter Keys under Make it easier to type.
Click Apply followed by OK.
Reboot your PC to save changes and see if you are able to Fix Keyboard Not Working on Windows 10.
Method 2: Run the Hardware and Devices troubleshooter
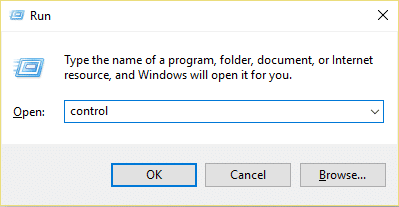
Press the Windows key + R button to open the Run dialogue box.
Type ‘control‘ and then press Enter.
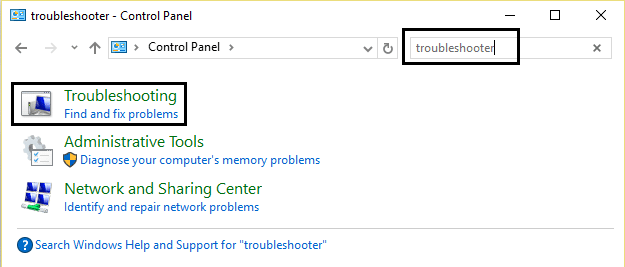
Search Troubleshoot and click on Troubleshooting.
Next, click on View all in the left pane.
Click and run the Troubleshooter for Hardware and Device.
The above Troubleshooter may be able to resolve Windows 10 Keyboard Not Working issue.
Method 3: Disable usb2 legacy support
Turn off your laptop, then turn it on and simultaneously press F2, DEL, or F12 (depending on your manufacturer) to enter into BIOS setup.
Go to USB Configuration and then disable USB legacy support.
Exit saving changes and Everything will work after you reboot your PC.
Method 4: Uninstall Synaptic Software
Type control in the Windows Search then click on Control Panel.
Now click on Uninstall a program and find Synaptic in the list.
Right-click on it and select Uninstall.
Reboot your PC and see if you are able to fix Keyboard not working issue on Windows 10.
Method 5: Uninstall Keyboard drivers
Press Windows Key + R then type devmgmt.msc and hit Enter to open Device Manager.
Expand keyboards and then right-click on your keyboard device and select Uninstall.
If asked for confirmation select Yes/OK.
Reboot your PC to save changes and Windows will automatically reinstall the drivers.
If you’re still not able to fix Keyboard not working issue then make sure to download and install the latest drivers of the Keyboard from the manufacturer’s website.
Method 6: Update Keyboard Drivers
Press Windows Key + R then type “devmgmt.msc” and hit Enter to open Device Manager.
Expand Keyboard then right-click on Standard PS/2 Keyboard and select Update Driver.
First, select Search automatically for updated driver software and wait for Windows to automatically install the latest driver.
Reboot your PC and see if you’re able to fix the issue, if not then continue.
Again go back to Device Manager and right-click on Standard PS/2 Keyboard and select Update Driver.
This time select “Browse my computer for driver software.“
On the next screen click on “Let me pick from a list of available drivers on my computer.“
Select the latest drivers from the list and click Next.
Reboot your PC to save changes.
Method 7: Disable Fast startup
Press Windows Key + R then type control and hit Enter to open Control Panel.
Click on Hardware and Sound then click on Power Options.
Then from the left window pane select “Choose what the power buttons do.“
Now click on “Change settings that are currently unavailable.“
Uncheck “Turn on fast startup” and click on Save changes.
Method 8: Make sure Windows is up to date
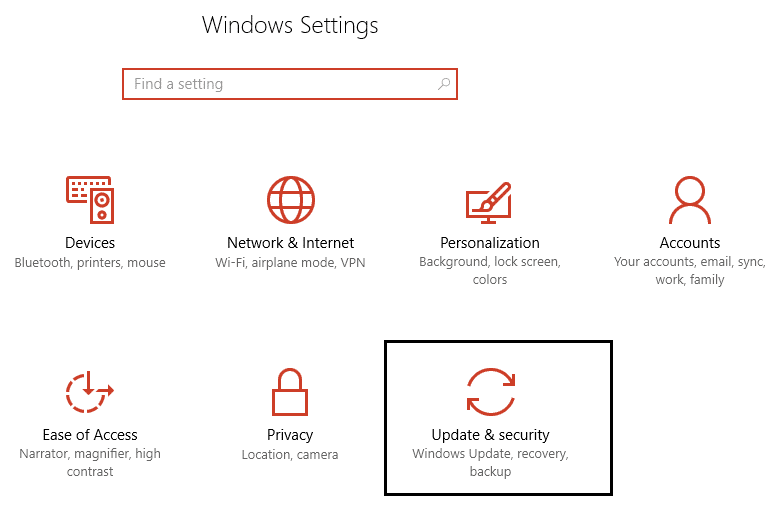
Press Windows Key + I then select Update & Security.
Next, again click Check for updates and make sure to install any pending updates.
After the updates are installed reboot your PC and see if you’re able to Fix Keyboard Not Working on Windows 10.
Method 9: Workaround the problem
Press Windows Key + R then type devmgmt.msc and hit Enter.
Expand Keyboard then right-click on Standard PS/2 Keyboard and select Update Driver.
Select “Browse my computer for driver software.“
On the next screen click on “Let me pick from a list of available drivers on my computer.“
Uncheck Show compatible hardware and select any driver except the Standard PS/2 Keyboard.
Reboot your PC to save changes then again follow all the above steps except the above one, as this time choose the correct driver (PS / 2 standard keyboard).
Again Restart your PC and see if you are able to fix Windows 10 Keyboard Not Working issue.
Method 10: Update BIOS
Performing BIOS updates is a critical task and if something goes wrong it can seriously damage your system, therefore, expert supervision is recommended.
The first step is to identify your BIOS version, to do so press Windows Key + R then type “msinfo32” (without quotes) and hit enter to open System Information.
Once the System Information window opens locate BIOS Version/Date then note down the manufacturer and BIOS version.
Next, go to your manufacturer’s website for e.g in my case it’s Dell so I will go to the Dell website and then I will enter my computer serial number or click on the auto-detect option.
Now from the list of drivers shown I will click on BIOS and will download the recommended update. Note: Do not turn off your computer or disconnect from your power source while updating the BIOS or you may harm your computer. During the update, your computer will restart and you will briefly see a black screen.
Once the file is downloaded, just double-click on the Exe file to run it.
Finally, you have updated your BIOS and this may also Fix Keyboard Not Working on Windows 10.
Method 11: For USB/Bluetooth Mouse or Keyboard
Type control in Windows Search then click on Control Panel.
Then click on View Devices and Printers under Hardware and Sound.
Right-click on your USB Mouse or Keyboard then select Properties.
Switch to the Services tab and then checkmark “Drivers for keyboard, mice, etc (HID).“
Click Apply followed by OK.
Reboot your PC to save changes and see if you’re able to fix any issues with your keyboard on Windows 10.
Method 12: Fix for ASUS Laptops
If you’re using an ASUS laptop then the problem is definitely with a program called AiCharger+. So from Control Panel go to Program and Features then uninstall AiCharger+/AiChargerPlus. Reboot your PC and see if your keyboard works properly. Recommended for you:
Fix No Sound From Laptop Speakers Fix MSCONFIG Won’t Save Changes on Windows 10 How to Fix Windows Update error 0x80248007 Fix Your PC isn’t connected to the internet error
We hope this guide was helpful and you were able to fix Keyboard not working in Windows 10 issue, but if you still have any queries regarding this post feel free to ask them in the comment section.